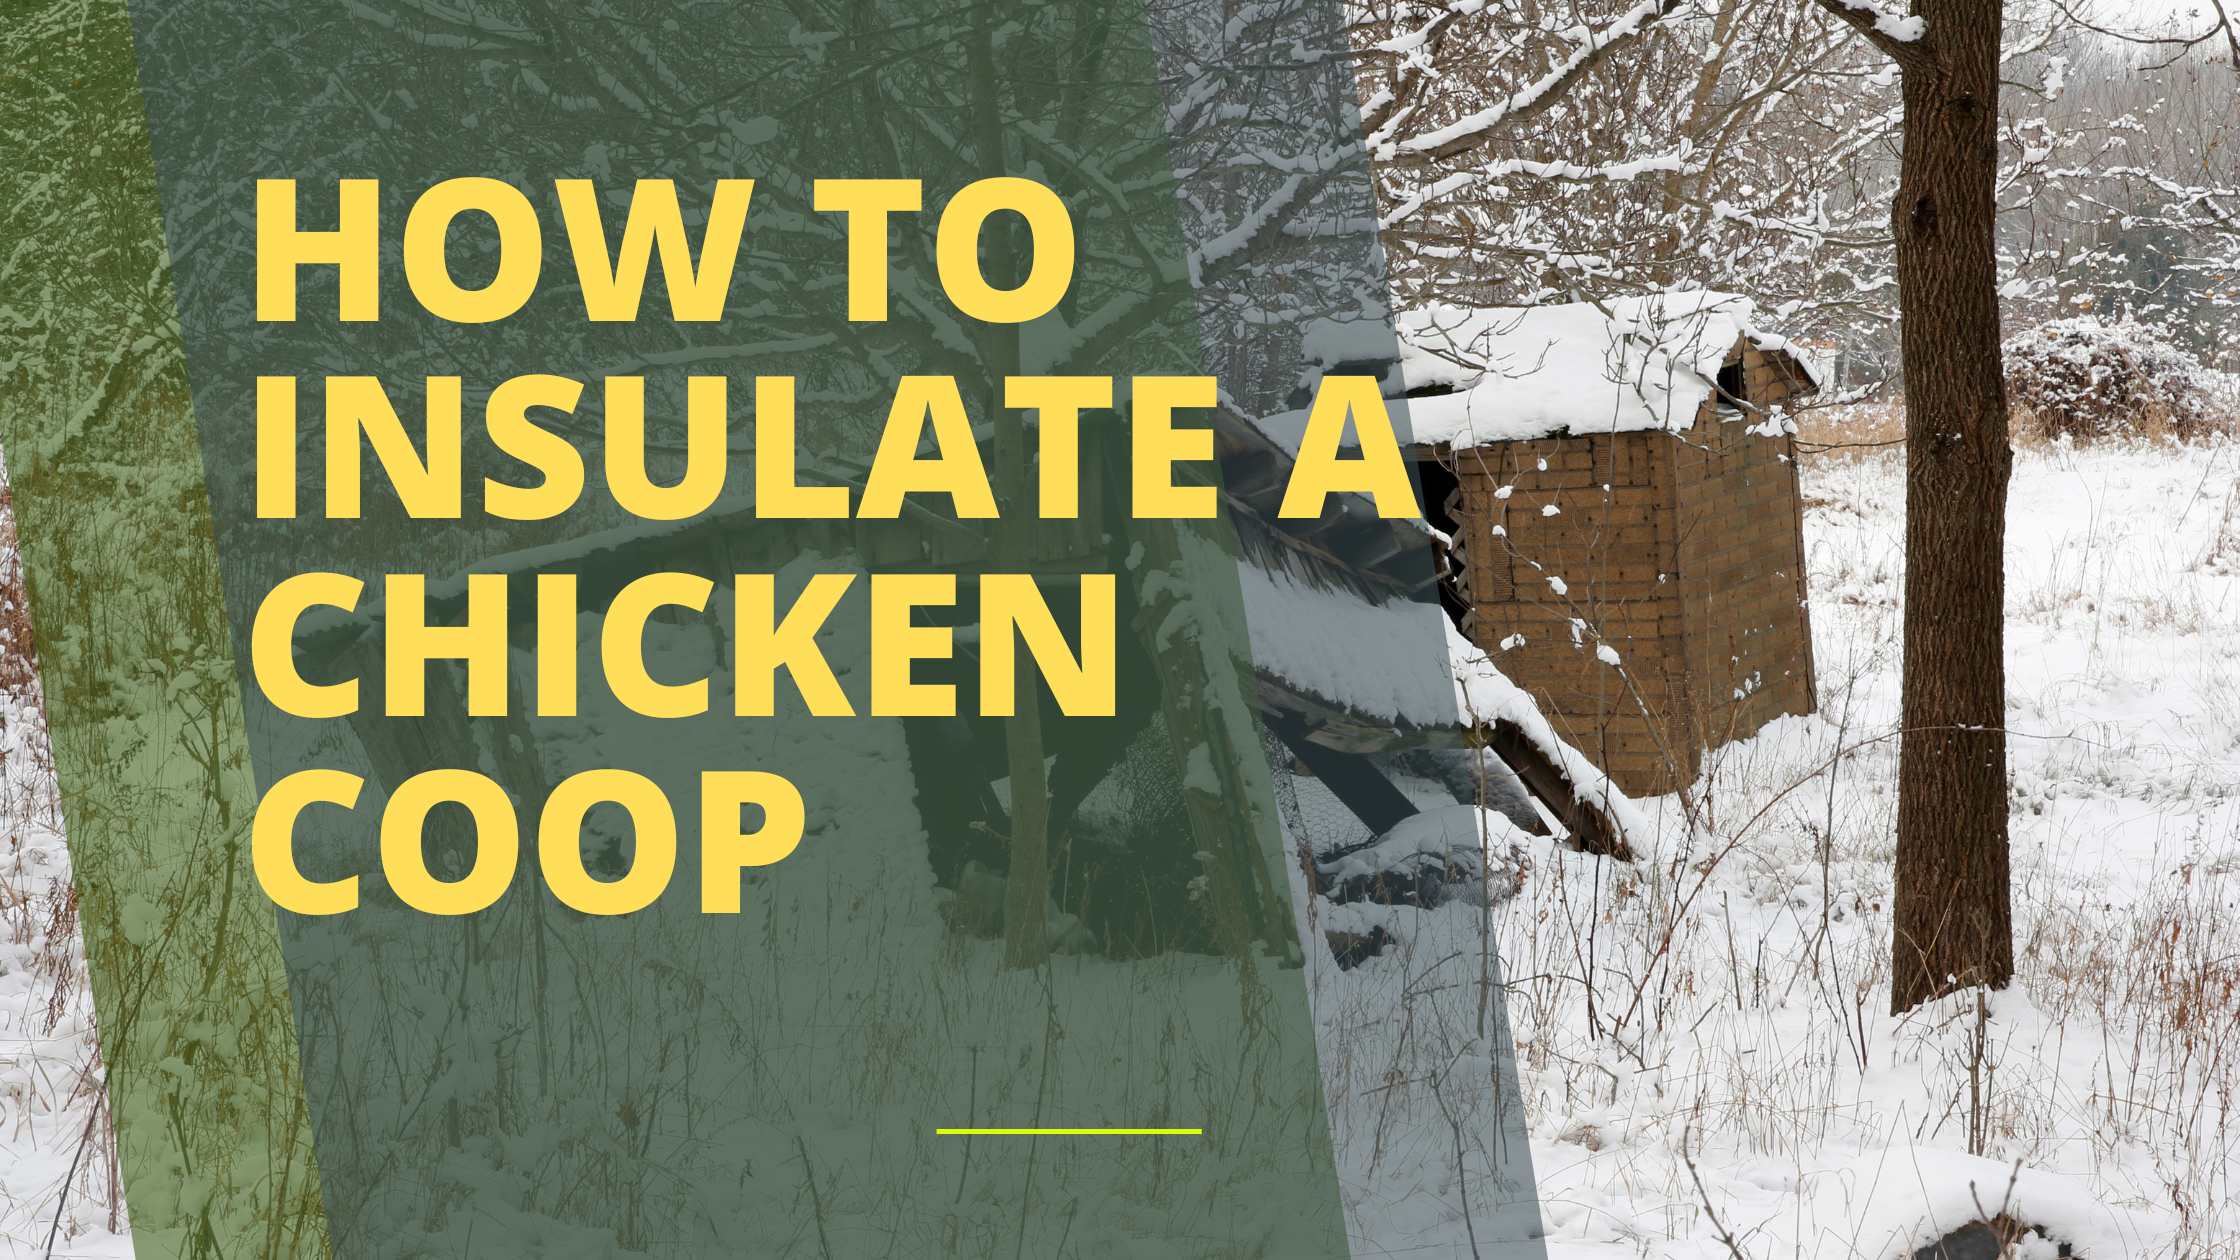
To insulate a chicken coop, install rigid foam boards or batt insulation in the walls and ceiling. Seal all drafts with caulk or weatherstripping for added warmth.
Raising chickens requires ensuring they stay warm during the colder months, which means proper insulation of their coop is a must. Insulating a chicken coop helps retain heat generated by the birds and any additional heating elements you might use, reducing the risk of frostbite and illness.
How to Insulate a Chicken Coop? Using suitable materials like foam boards or batt insulation can dramatically increase the coop’s ability to hold heat. Sealing potential air leaks with caulk or weatherstripping is also crucial to prevent cold drafts from entering. Remember, a well-insulated coop means happier, healthier chickens and a more successful flock. Select materials that are safe for the chickens and easy to clean, as coop hygiene is equally important. Quality insulation can also reduce the need for electrical heating solutions, saving energy and cutting costs.

Credit: m.youtube.com
Cold Comfort: The Basics Of Chicken Coop Insulation
Ensuring your chickens stay toasty during chilly months is crucial. A well-insulated chicken coop not only keeps your feathered friends warm but also promotes their health and egg production. Let’s dive into coop insulation essentials.
Why Chickens Need A Warm Coop
Chickens are hardy, but extreme cold can affect their wellbeing. A warm coop helps maintain their body temperature, safeguards against frostbite, and encourages regular laying cycles.
- Prevents illness: Cold drafts can lead to respiratory issues.
- Enhances comfort: Cozy hens are happy and productive.
- Protects combs and wattles: Warmth reduces frostbite risk.
Types Of Insulation Material Suitable For Coops
| Material | Properties | Usage |
|---|---|---|
| Foam Boards | Lightweight and easy to install | Great for walls and ceilings |
| Fiberglass | Cost-effective with high R-value | Needs secure cover to protect chickens |
| Reflective Insulation | Reflects heat back into the coop | Ideal for sunny locations |
Choose insulation based on your climate and coop’s structure. Ensure it’s safe and does not off-gas harmful substances. Consider ease of installation and durability when selecting the best fit for your coop.
Planning For Poultry: Assessing Your Coop’s Needs
When winter pecks at the door, your feathered friends need a warm roost to retreat.
Insulating a chicken coop isn’t just about keeping the cold out. It’s balancing warmth with fresh air. Your coop’s size, design, and location all play a part in your plans.
The Importance Of Ventilation Alongside Insulation
Good airflow keeps moisture and ammonia at bay. Don’t let your insulation efforts block ventilation.
- Air vents near the top: Clear of insulation.
- Overlap insulating materials slightly below vents.
Sizing Up Your Space: How Much Insulation Does Your Coop Need?
To size right, consider these:
- Cube your coop: Height times width times depth.
- Insulation type: Reflective, fiberglass, foam board.
- Thermal resistance: Higher R-value equals better insulation.
- Climate: Harsh winters need more insulation layers.
Use this info to calculate the amount of insulation your coop needs:
| Coop Size (cubic feet) | Insulation Type | R-Value | Climate | Required Thickness (inches) |
|---|---|---|---|---|
| < 50 | Fiberglass | 3.0 – 3.5 | Mild | 3 – 4 |
| 51 – 150 | Foam Board | 5.0 – 6.0 | Harsh | 5 – 6 |
From Fluff To Stuff: Choosing Your Insulation
Winters can be tough on your feathered friends. Proper insulation for a chicken coop is vital. It keeps the space warm and cozy for chickens. It also prevents frostbite. But with so many materials out there, choosing the right one can feel overwhelming. Let’s break it down.
Comparing Synthetic And Natural Options
There’s a battle between synthetic and natural insulators. Each has its pros and cons.
| Type | Pros | Cons |
|---|---|---|
| Synthetic |
|
|
| Natural |
|
|
Longevity And Safety: What To Look For
Long lifespan and safety are key in choosing insulators. Below is a checklist to follow:
- Chemical-free materials: Keep chickens safe from toxins.
- Fire resistance: Look for fire-retardant options.
- Easy to replace: Insulation should be simple to update or fix.

Credit: misfitgardening.com
Getting Down To Detail: Insulating Specific Areas
Welcome to the detailed segment on how to insulate your chicken coop effectively. Proper insulation not only keeps your chickens warm during the winter but also cool in the summer. Let’s zoom in on the specifics, insulating your chicken coop’s different areas for optimal comfort and energy efficiency.
Walls And Ceilings: Best Practices
Walls and ceilings form the primary defense against the elements. Start with these steps:
- Choose insulating materials like rigid foam boards or fiberglass batts.
- Seal all gaps to prevent drafts using caulk or foam sealant.
- Consider a double-layer for extra warmth, with an air gap in between.
Ensure proper ventilation to avoid moisture build-up which can lead to mold.
Floors And Foundations: Critical Considerations
The floor is another crucial area:
- Start by elevating your coop off the ground.
- Install rigid insulation beneath flooring material.
- Use straw or hay as additional, comfortable bedding.
Remember, a dry coop is a warm coop, so keep out moisture by securing the foundation against water intrusion.
Step-by-step Insulation Installation
Keeping your chickens warm through the winter starts with proper coop insulation. Let’s explore a step-by-step guide to insulate your chicken coop effectively.
Tools And Materials You Will Need
Before jumping into the action, gather the right tools and materials. This ensures a smooth process.
| Tools | Materials |
|---|---|
| Measuring Tape | Insulation Boards |
| Utility Knife | Staple Gun & Staples |
| Caulk Gun | Sealant |
| Safety Glasses | Protective Gloves |
The Insulating Process: A Walkthrough
Ready to begin? Follow these steps for successful insulation installation.
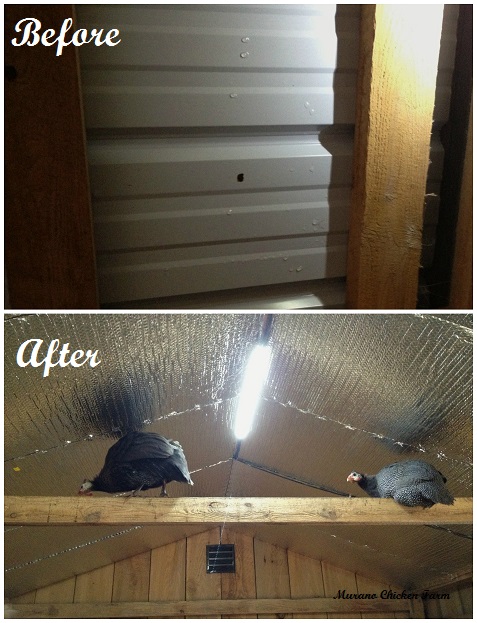
- Measure the Walls – Use the tape to measure coop walls and ceiling.
- Cut the Insulation – With the utility knife, cut boards to match wall sizes.
- Attach the Insulation – Fix the boards to the walls with the staple gun.
- Seal the Edges – Apply sealant around the boards to block drafts.
- Check Ventilation – Ensure the coop has enough air flow.
Remember to wear safety glasses and gloves throughout the process for protection.
Credit: www.muranochickenfarm.com
The Perks Of Proper Installation
Wrapping your chicken coop in the right layers is like giving your feathery friends a warm hug. Proper insulation keeps the coop toasty in winter and cool during summer. That means your chickens stay comfy, no matter what Mother Nature throws at you. It’s not just about comfort though; there are some real perks to doing this right.
Energy Efficiency Gains
Insulating your chicken coop is a smart move for your energy bills. A well-insulated coop means less heat escapes during the colder months. It also stays cooler in the heat. You’ll use less energy trying to control the temperature. Better insulation equals more savings!
- Less reliance on heating lamps or fans
- Better temperature control
- Lower energy costs
Boosting Your Flock’s Health And Happiness
Chickens thrive in a stable environment. Proper insulation shields them from extreme cold and heat. This stress-free setting can lead to healthier, happier chickens. Here’s how a snug coop boosts well-being:
| Without Insulation | With Insulation |
|---|---|
| Chickens are stressed by temperature swings. | Consistent temperatures keep stress low. |
| Higher risk of frostbite in winter. | Better protection against the cold. |
| Potential for overheating in summer. | Keeps a cooler, safer space during heatwaves. |
Healthy chickens mean better egg production. They’ll be less likely to get sick. Your flock is more productive and lives a longer, happier life.
Troubleshooting Common Coop Insulation Problems
When it comes to keeping chickens comfortable, proper insulation is key. But what happens when issues arise? Knowing how to troubleshoot common coop insulation problems is essential for a healthy flock. From dampness to damaged materials, let’s dive into effective solutions.
Dealing With Dampness And Mold
Moisture and mold in a chicken coop can harm your birds. They can lead to respiratory issues and degrade insulation quality. To combat this, try the following steps:
- Improve ventilation: Ensure your coop has enough air flow. Add vents or windows if necessary.
- Check for leaks: Inspect the roof and walls. Seal any gaps with caulk or weather stripping.
- Use moisture-resistant insulation: Materials like foam board or closed-cell spray foam work well.
- Clean regularly: Remove soiled bedding often to keep the coop dry.
Prevent mold growth by addressing humidity right away. Use dehumidifiers if needed.
Repairing And Replacing Damaged Insulation
Damaged insulation can compromise a coop’s warmth. Here’s how to fix it:
- Remove damaged sections: Carefully take out any wet or chewed insulation.
- Choose durable materials: Replace with rodent-resistant options like rigid board insulation.
- Ensure proper fit: Cut the new insulation to size. A snug fit boosts effectiveness.
- Seal edges: Use foil tape or a similar product to secure and protect the insulation’s edges.
Regular checks help catch small issues before they turn big. Replace insulation when it no longer performs.
Seasonal Strategies: Adapting Insulation For Changing Weather
The success of your coop hinges on your hens’ comfort throughout the year. Chickens are hardy creatures. Yet, extreme temperatures can impact their well-being. Adequate insulation in your chicken coop is not a one-size-fits-all solution. It requires season-specific adjustments. Let’s explore how to maintain an optimal environment year-round.
Summer Considerations: Keeping The Coop Cool
The summer sun can turn your chicken coop into an oven. Avoid heat stress in your flock with these measures:
- Reflective Insulation: Install materials that reflect heat away from the coop.
- Ventilation: Ensure there is ample airflow to dissipate heat. Open windows or install vents.
- Shade: Position your coop in a shady area or add a shade cloth to block direct sunlight.
- Water: Provide plenty of fresh, cool water to help chickens regulate their body temperature.
Winter Wisdom: Extra Measures For The Cold
In winter, your goal is to preserve heat without compromising ventilation. Consider these tips:
- Insulating Materials: Line the coop with straw or wool insulation to trap heat.
- Seal Cracks: Check for and seal any drafts that can let in cold air.
- Non-Freeze Water: Use a heated water dish to prevent ice formation.
- Lighting: A low-wattage bulb can add warmth and encourage longer laying cycles.
Future-proofing Your Flock’s Home
Imagine a cozy haven for your chickens, safe from the elements. Insulating the coop means happy hens and plentiful eggs. But there’s more to it than just adding insulation. To truly protect your poultry, think future-proof. This involves regular upkeep and embracing the latest in coop technology. Ensure your feathered friends thrive through the seasons. Let’s dive into how to do just that.
Regular Maintenance Tips
Check and update insulation to ward off cold drafts.
- Inspect for gaps, sealing them to keep predators out and warmth in.
- Maintain a dry environment to prevent mold, using proper ventilation.
- Examine your coop yearly; fix any wear and tear promptly.
- Employ pest control measures to deter mites and rodents.
Innovations In Poultry Living Quarters
Advances in coop design can revolutionize your chickens’ home.
Green roofing provides insulation and a space to grow treats for your flock.
| Innovation | Benefits |
|---|---|
| Automated doors | Enhanced security from predators. |
| Solar panels | Eco-friendly energy for heating and lighting. |
| Thermo-Coops | Maintain temperature with less energy. |
| Modular systems | Easily expandable as your flock grows. |
Equip your coop with these cutting-edge features. Your chickens will be set not just for today but for years to come.
Conclusion
Ensuring your chickens stay warm through winter is crucial. Proper insulation of your coop retains heat and cuts costs effectively. Remember, the right materials make all the difference. Get started – your feathered friends will thank you for a snug, energy-efficient home!

